Create a User Account
To create a regular (non-root) user account during the installation, click User Settings on the progress screen. The Create User screen appears, allowing you to set up the regular user account and configure its parameters. Though recommended to do during installation, this step is optional and can be performed after the installation is complete.
|
You must always set up at least one way to gain root privileges to the installed system: either using a |
To leave the user creation screen after you have entered it, without creating a user, leave all the fields empty and click Done.
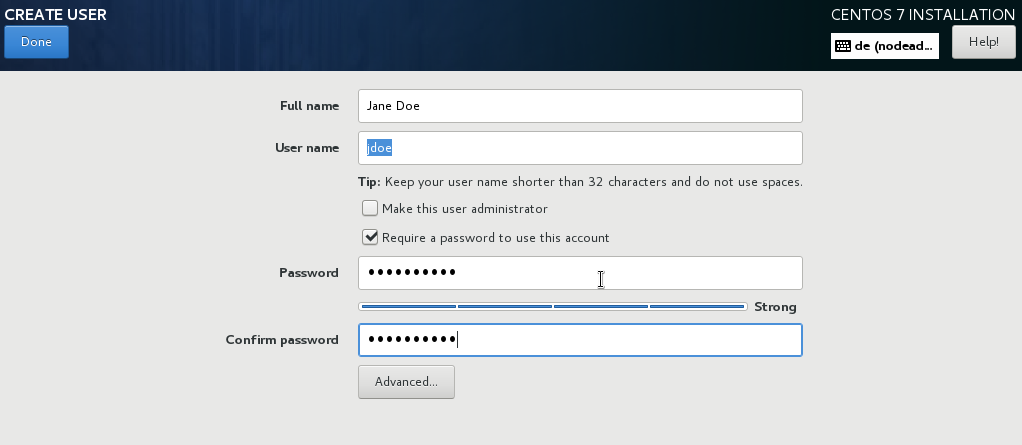
Enter the full name and the user name in their respective fields. Note that the system user name must be shorter than 32 characters and cannot contain spaces. It is highly recommended to set up a password for the new account.
When setting up a strong password even for a non-root user, follow the guidelines described in Set the Root Password (ppc).
Click the Advanced button to open a new dialog with additional settings.
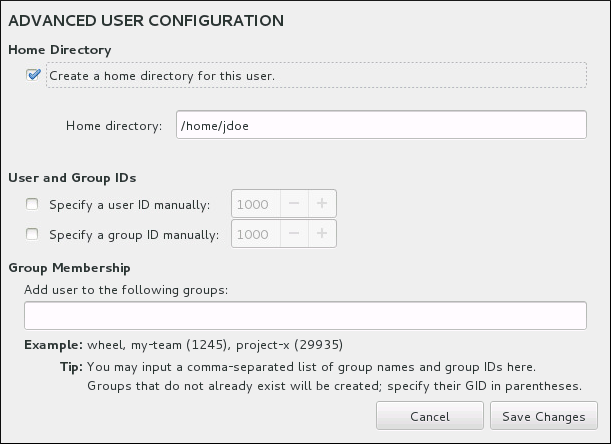
By default, each user gets a home directory corresponding to their user name. In most scenarios, there is no need to change this setting.
You can also manually define a system identification number for the new user and their default group by selecting the check boxes. The range for regular user IDs starts at the number 1000. At the bottom of the dialog, you can enter the comma-separated list of additional groups, to which the new user shall belong. The new groups will be created in the system. To customize group IDs, specify the numbers in parenthesis.
|
Consider setting IDs of regular users and their default groups at range starting at For creating users with custom IDs using kickstart, see user (optional). For changing the minimum UID and GID limits after the installation, which ensures that your chosen UID and GID ranges are applied automatically on user creation, see the Users and Groups chapter of the System Administrator’s Guide. |
Once you have customized the user account, click Save Changes to return to the User Settings screen.